Category: Windows

Learn to use different programs and applications, fix errors and improve productivity on Windows Operating Systems.

  • AI Content Creation Tools for Windows: Revolutionizing Digital Creativity

    AI Content Creation Tools for Windows: Revolutionizing Digital Creativity

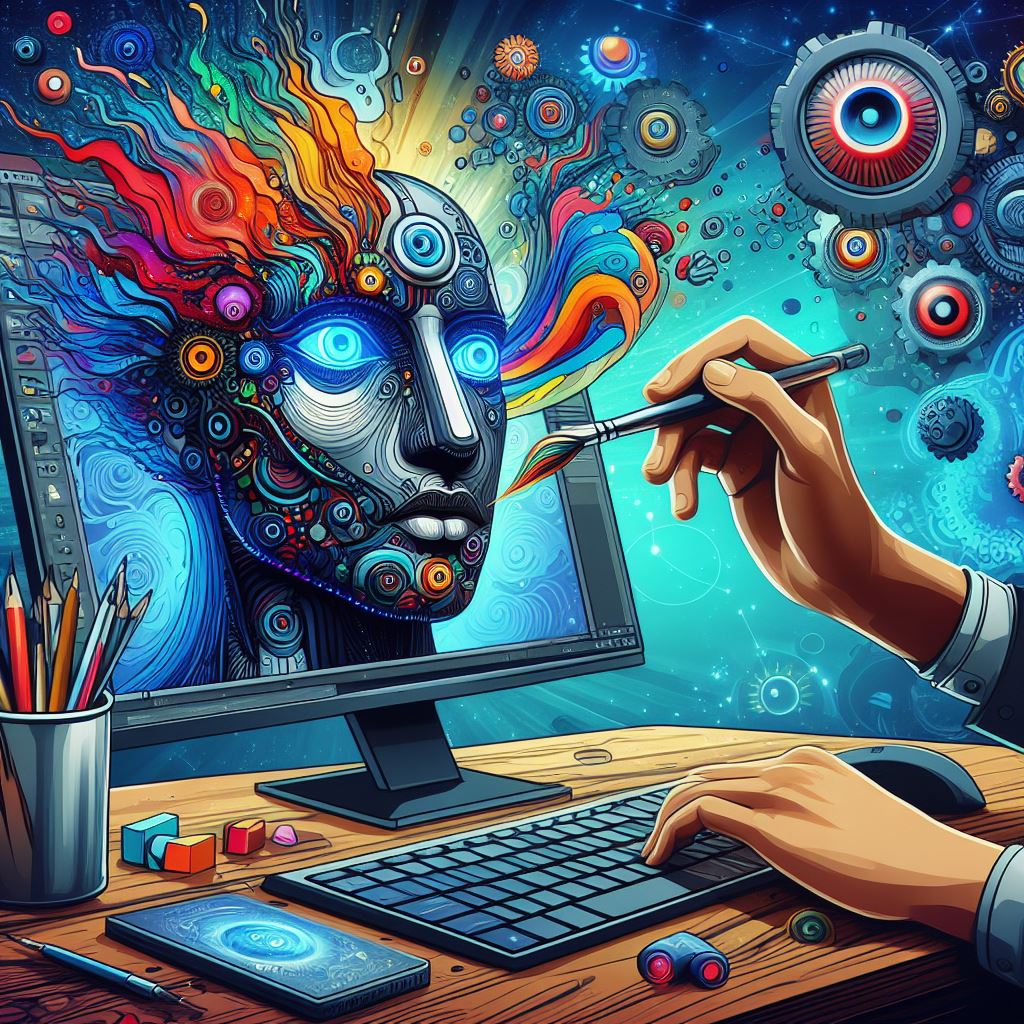
    Are you looking for AI content creation tools that you can use on Windows?

    Whether you’re a seasoned professional or an aspiring creator, using the power of artificial intelligence can take your content creation to new heights.

    In this article, I will cover a range of AI-powered content creation tools specifically designed for Windows users, revolutionizing the way we produce and consume digital content.

    The Rise of AI in Content Creation


    Artificial intelligence has made significant impact in recent years, in various aspects of our daily lives.

    In the days of content creation, AI algorithms are being leveraged to automate tasks, improve creativity, and streamline workflows.

    From generating text and designing graphics to editing videos and composing music, AI-powered tools offer great capabilities that can only improve human creativity and efficiency.

    Text Generation and Editing


    One of the most notable applications of AI in content creation is text generation and editing.

    Tools like ChatGPT have demonstrated remarkable proficiency in generating human-like text based on prompts provided by users.

    Jasper is a favorite among businesses for generating all kinds of content for marketing. It’s great for making blog posts, but it can also help you create social media posts, articles, emails, ads, and more.

    Writers and bloggers can leverage these AI models to brainstorm ideas, draft articles, or even automate routine writing tasks.

    Also, AI-driven grammar and style checkers can help polish content, ensuring clarity and coherence.

    Graphic Design and Image Editing


    For graphic designers and visual artists, AI-powered tools offer many of creative possibilities.

    Platforms like Canva and Adobe (latest version) have integrated AI functionalities for tasks such as image enhancement, object removal, and intelligent cropping.

    Furthermore, specialized tools enable designers to explore generative art and create visually stunning compositions using AI algorithms. Bing’s Copilot, DALL-E2, and Midjourney are quite helpful in this regard.

    Video Production and Editing

    In the realm of video production, AI technologies are revolutionizing the editing process and opening doors to innovative storytelling techniques.

    Software like Adobe Premiere Pro and Davinci Resolve leverage AI for tasks such as scene detection, color grading, and motion tracking, allowing filmmakers to streamline their workflows and achieve professional-quality results.

    Moreover, AI-powered video synthesis tools enable users to generate lifelike avatars, deepfake effects, and dynamic visual effects with ease.

    Music Composition and Audio Editing

    Musicians and composers can also benefit from AI-driven tools that assist in music composition, arrangement, and production.

    Platforms like SounDraw and Beatoven use machine learning algorithms to generate original musical compositions tailored to specific genres, moods, and instrumentation preferences.

    Additionally, AI-powered audio editing software enhances sound quality, removes background noise, and simplifies the mixing and mastering process for audio professionals.

    Integration with Windows Ecosystem

    Many AI-powered content creation tools are designed to seamlessly integrate with the Windows ecosystem, offering native support for Microsoft’s operating system.

    Whether you’re using a desktop PC, laptop, or tablet running Windows, you can access a diverse array of AI-driven software solutions through the Microsoft Store or third-party vendors.

    Moreover, advancements in cloud computing and edge AI enable users to harness the power of AI algorithms directly on their Windows devices, without relying on external servers or internet connectivity.


    As AI continues to evolve and permeate every facet of our digital existence, content creators have unprecedented opportunities to push the boundaries of creativity and innovation.

    By leveraging AI-powered content creation tools on Windows platforms, individuals and organizations can streamline workflows, amplify productivity, and unleash their creative potential like never before.

    Whether you’re a writer, designer, filmmaker, or musician, embracing AI technologies can transform your artistic vision into reality, shaping the future of digital content creation in profound ways.

    Embrace the power of AI and embark on a journey of endless possibilities in the realm of content creation on Windows.

  • How to Generate Internet Connection Logs on Windows Computer?

    How to Generate Internet Connection Logs on Windows Computer?

    If you want to monitor Internet connection logs on your windows computer constantly, this command will save you a lot of time and headache. You can create a log file to help you troubleshoot connection problems, or you can send them to your Internet connection provider to understand the problem.

    Steps

      • Click on Start Menu, search for the command prompt or write “CMD” in the Start menu search box.
      • Before opening the Command Prompt, you should run it as an administrator. Right-click on the command prompt icon in the start menu.
      • Click on the option run as administrator.

    Run Command Prompt as an Administrator
    Run Command Prompt as an Administrator

      • Now you need to type this command to generate a log.txt file.

    ping -t comcast.net > log.txt

    To Generate Internet Connectivity logs type this command
    To Generate Internet Connectivity logs, type this command

    • This command will generate a file in your current directory, which in my case is C:\users\Azib.
    • You can change the directory to something other by using the command “CD directory path.” Let’s say you want to save this log file to your C drive root folder. So you will type the command “CD C:\.”
    • Go to C Drive from the “My Computer” or “This PC” folder, depending on your Windows OS version.
    • Find the folder “users” and then “azib”; you will find the log.txt file.

    Leave it running this command in the command prompt as long as you want to capture the logs. Close the command prompt and delete the log file when you are done.

  • Why I Switched from Windows 10 to Linux Mint? [Review]

    Why I Switched from Windows 10 to Linux Mint? [Review]

    I have been using Windows for almost ten years. I have used many versions of Windows OS now. However, I was not very pleased with the latest Windows 10 due to tracking, advertising, constant updates, crashes, etc. So, I installed a Linux distro and was hooked on it right after the installation.

    The experience was quite pleasant (which I didn’t expect). I have used Ubuntu and some other distros in the past, but it was quite a difficult process back then to install any Linux distro. Things are different now; I think it is a perfect time to move to Linux Os.

    Why I Preferred Linux Mint Over Many other Linux Distros?

    A few things which I find interesting about Linux Mint:

    • It is one of the most popular Linux distros, according to Distrowatch.
    • Linux Mint is entirely free, just like many other Linux distros. However, if you like it, please consider donating to the Linux Mint development team.
    • Reviewers of Linux distros suggested Linux Mint over other Linux distributions because it is easier to use, especially for users switching from Windows to Linux.

    These were the few things that I read online, and I thought, why not give it a try? What worst could happen?

    Switching from Windows 10 to Linux Mint 19 Cinnamon

    So, I downloaded the Linux Mint ISO image from their official website. Read this installation guide and started writing the ISO image on my USB.

    I picked up my old laptop, ‘ASUS X555UA‘, and installed it immediately.

    The installation procedure was faster and far better than any Windows OS I have used.

    When I was about to install the Linux Mint, I thought it would take a couple of hours.

    However, Linux Mint installation was one of the most straightforward OS installation processes I have experienced. After clicking two or three times, the installation was finished.

    The first thing I noticed about Linux Mint was that it wasn’t as ugly as I expected. I used Ubuntu Linux 5–6 years ago, so you can probably relate to my expectations.

    The Linux Mint installation process already installed every hardware driver. So, I didn’t even have to install drivers or anything. I plugged in my external mouse, keyboard, and monitor, and the OS detected everything without a single issue. Wow, it is a much superior experience to Windows.

    I installed the Chromium browser, updated a few software, and started using it. It’s been almost a week, and I haven’t touched my Windows laptop.

    I recommend Linux Mint to anyone who is fed up with spyware, viruses, and crashes. This Linux distro is particularly very user-friendly for Windows users. However, your opinion might be different if you are an advanced Linux user. Give it a try, and let me know how you find it in the comments below.

  • Too Fast Scrolling on Asus Touchpad — How I Solved Asus X555UA Touchpad Fast Scrolling problem

    Too Fast Scrolling on Asus Touchpad — How I Solved Asus X555UA Touchpad Fast Scrolling problem

    Asus Touchpad if freezing randomly for you or your Laptop’s touchpad is acting weird, I tried a few solutions from different forums and groups. I am hoping that you will get your touchpad fixed by any of the given methods.

    I accidentally uninstalled the Asus touchpad driver because touchpad was acting up. After uninstalling the driver of X555UA Asus laptop touchpad, I did a restart but touchpad completely stopped working.

    Anyway, I somehow managed to go to the browser and downloaded the latest touchpad drivers for ASUS X555UA. I installed the touchpad drivers and after a quick reboot, it seems to be partially working.

    Everything was working fine except too fast touchpad scroll. It was nearly impossible to scroll the web pages.

    So, it was a quite frustrating problem and I tried several ways by searching Internet forums found a way to fix fast scrolling issue. I am hoping that this information can help you troubleshoot your touchpad related issues.

    Here is a step by step process how to do it:

    Latest Update

    Finally using a mouse instead of a touchpad. Nothing I tried worked for me. It looks like I have got a faulty touchpad (hardware problem) rather than a driver issue.

    Let me know in the comments if you find a solution to this problem.

    Update

    (please follow the latest update only)

    It looks like the problem has been resolved but I will update the article if it won’t. Here’s what I did:

    I follow this article, first I removed the old ATK package and Asus smart Gesture.

    After that, I downloaded new updated versions of both the ATK package and Smart Gesture.

    After a little sweat finally, it seems like the installation has improved the touchpad speed issue at least for now.

    Update

    Fast Scrolling Fix

    • Go to System Settings; click on Devices.
    • Select Mouse & Touchpad.
    • Screenshot

    • At the end of this Devices page, you will see Additional mouse options. Click on that.
    • Now, select the 4th tab Wheel and adjust vertical scrolling from 3 to 1 temporarily.
    • Screenshot

    • Click on Apply and OK.

    You can check if your problem is fixed by scrolling web pages. If it works a little slow you can revert back to vertical scrolling from 1 to 3 by the same procedure.

    Strangely enough, this resolved my impossible scrolling issue and now I can select any scrolling speed and everything seems to be working fine for me.

    Let me know how this goes for you. Or if you have any other method to share please feel free to comment. I will add that method in this post.

    Update

    Well, it didn’t work out for me in the long run. It looks like, I have to reinstall the OS to get my touchpad working again.

    I will do that this week and hopefully will update the post as soon as I find out the solution.

  • GFXUI has stopped working – how to fix this error in windows 7

    GFXUI has stopped working – how to fix this error in windows 7

    If you see this error on your Windows PC, GFXUI has stopped working then I have a fix to resolve this error.

    I have been using windows 7 for a year but have never faced any problems. Yesterday, I deleted some unnecessary files from my computer to speed it up a little. I accidentally unchecked the .Net Framework from the settings in the control panel and forgot about it.

    What is the .Net Framework?

    The .NET Framework is required to run many applications on Windows. You can use the following instructions to install it. .NET is a programming framework created by Microsoft that developers can use to create applications more easily.

    Most times, applications will ask for a particular version of the framework to be installed. We’d recommend avoiding installing that partcular version, and trying instead to install the most up-to-date version of .NET, assuming your Windows OS supports it. Most .NET packages have backwards compatibility, so an app asking for the 2.0 framework can usually get by with what’s packaged into the latest version: .NET Framework 4. Be sure, too, that you’re settled up on your Windows Update requests, as there may be relevant system patches that need installing before .NET will fit comfortably on your system.

    Source

    After a while, when I turned on my computer, it displayed the message’ GFXUI has stopped working‘. I tried to resolve this problem with the help of different online tutorials, but none of them worked. Most Windows problems vanish when you restart the computer, so I tried restarting it, but it didn’t work.

    I searched for solutions for a couple of hours, but there were different methods of solving this issue. I tried some of them, and finally, one of them worked. I thought this might also help people facing this problem on their Windows 7. I made a short tutorial on how to fix the ‘gfxui has stopped working‘ error in windows 7.

    How to Fix GFXUI Has Stopped Working Error?

      • Go to Control Panel > under the programs  > uninstall a program.
      • Now see at the left side >Turn windows feature on and off.
      • It might say, please wait. So wait a while.
      • Check the box Microsoft .Net framework; when you click on the checkbox, it will turn blue.
    • Press the ok button. Applying these settings again takes some time.
    • Restart your computer to ensure the GFXUI error will not pop up again.

    I hope these settings will work for you. If you still see the GFXUI error message, uninstall the Microsoft .Net framework. Go to Control Panel> Uninstall program> Microsoft .Net framework.

    Now, download the new update of.Net framework from the Microsoft website. I hope this error will be fixed. If you still cannot resolve the issue, please get in touch with Microsoft support.

  • Delete unnecessary Files from Windows

    Delete unnecessary Files from Windows

    It doesn’t matter how well you have maintained your PC, after a few months Windows will automatically start performing slower. It is because Windows stores a lot of temporary information in cookies, registry files and applications. It is recommended to do basic maintenance of your PC after every few months. Windows comes with software to clean your computer free of unwanted files but they will not completely clean your system.

    That’s why I would recommend you to use these softwares to remove needless junk files from your Windows system.

    Use The PC Decrapifier to Remove Junk Files from Windows

    The PC Decrapifier

    Download The PC Decrapifier

    It’s a paid software, so, you can use it for free but with limited functionality. Here is how you can use it to best optimize your Windows system performance.

    • After the installation, when you run this program it will show you a Welcome screen. Read those quick instructions then click “Analyze” to start the process.
    • You can select programs and files that you think are not needed anymore. “The PC Decrapifier” uses recommendations driver by other user feedback system.
    • Review the selection of files and confirm your selections before removal.
    • It might take a couple of minutes to completely remove those files. When it is finished, you should restart your computer and notice the difference.

    Delete Unnecessary Files from Windows using CCleaner

    Download CCleaner for Windows

    Download CCleaner

    Ccleaner is one of the widely used, system optimization tool for computers running Windows. I have used CCleaner and found it really simple and easy. When I ran CCleaner on my computer for the first time, I was surprised to find out that there were 4 GB of unnecessary files on my computer. After removal of those files, my computer was faster than before.

    Using CCleaner can improve the speed and performance of your computer. When we are talking about performance, most people rely on the hardware for speed and ignoring the fact that utilizing their usage of software can also affect the performance of their machine.

    There are some features which I would like you to see first before download Ccleaner. CCleaner can delete these:

    Internet Explorer Browser

    • Temporary Files
    • Browser’s Cache
    • URL History
    • Cookies stored in your browser
    • Hidden Index.dat files
    • Last downloaded file location

    Firefox Browser

    • Temporary Files
    • Browser’s Cache
    • URL History
    • Cookies stored in your browser

    Windows System Files

    • Files from Recycle Bin
    • Recent used Document files
    • Temporary files
    • System’s Log files
    • Clipboard items and history
    • DNS Cache
    • Error reporting files
    • Memory Dumps
    • Jump Lists

    Registry Cleaner


    Advanced features to remove unused and old entries, including File Extensions, ActiveX Controls, ClassIDs, ProgIDs, Uninstallers, SharedDLLs, Fonts, Help Files, Application Paths, Icons, Invalid Shortcuts and more..

    You can download CCleaner from here. It is highly valuable software for your computer life. When you download complete run the downloaded setup file on your computer and install CCleaner on your computer.

    After completion of software you need to see a minute or two for how to use CCleaner. It is not that hard, you just need to tick the files which you want to delete from your computer. That’s it, now run the setup and after few minutes it will delete all of unnecessary files from your computer.

    There are also many other utility softwares for deleting unnecessary files but in my opinion CCleaner is really simple and fast. If you have suggestions about any other best utility software please feels free to suggest them using the comments below.

    If you like this post then please feel free to share it.